
Before you start, make sure you’ve signed up at app.hypd.ai and connected at least one ad account on the Sources page. See the Quickstart if you haven’t yet.
Install
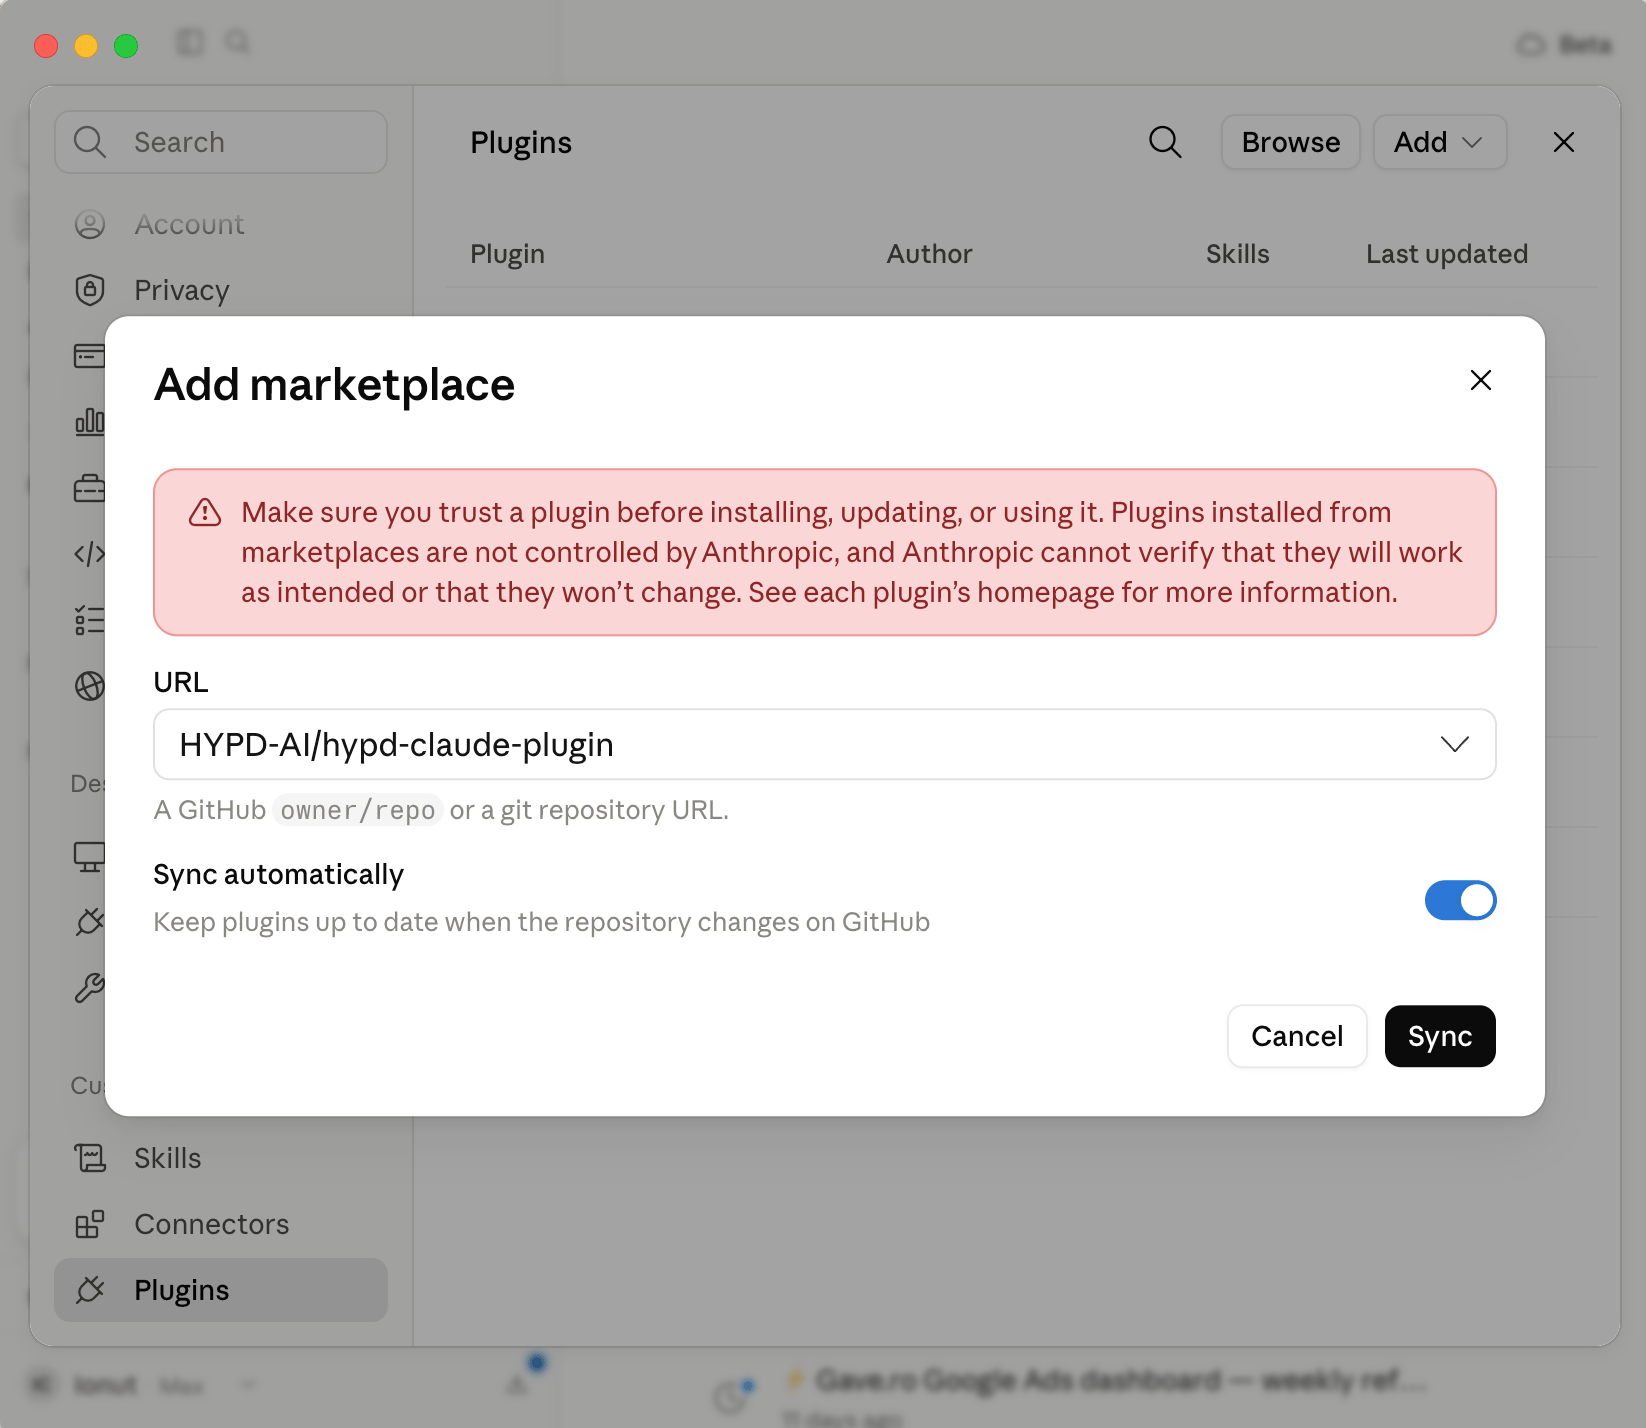
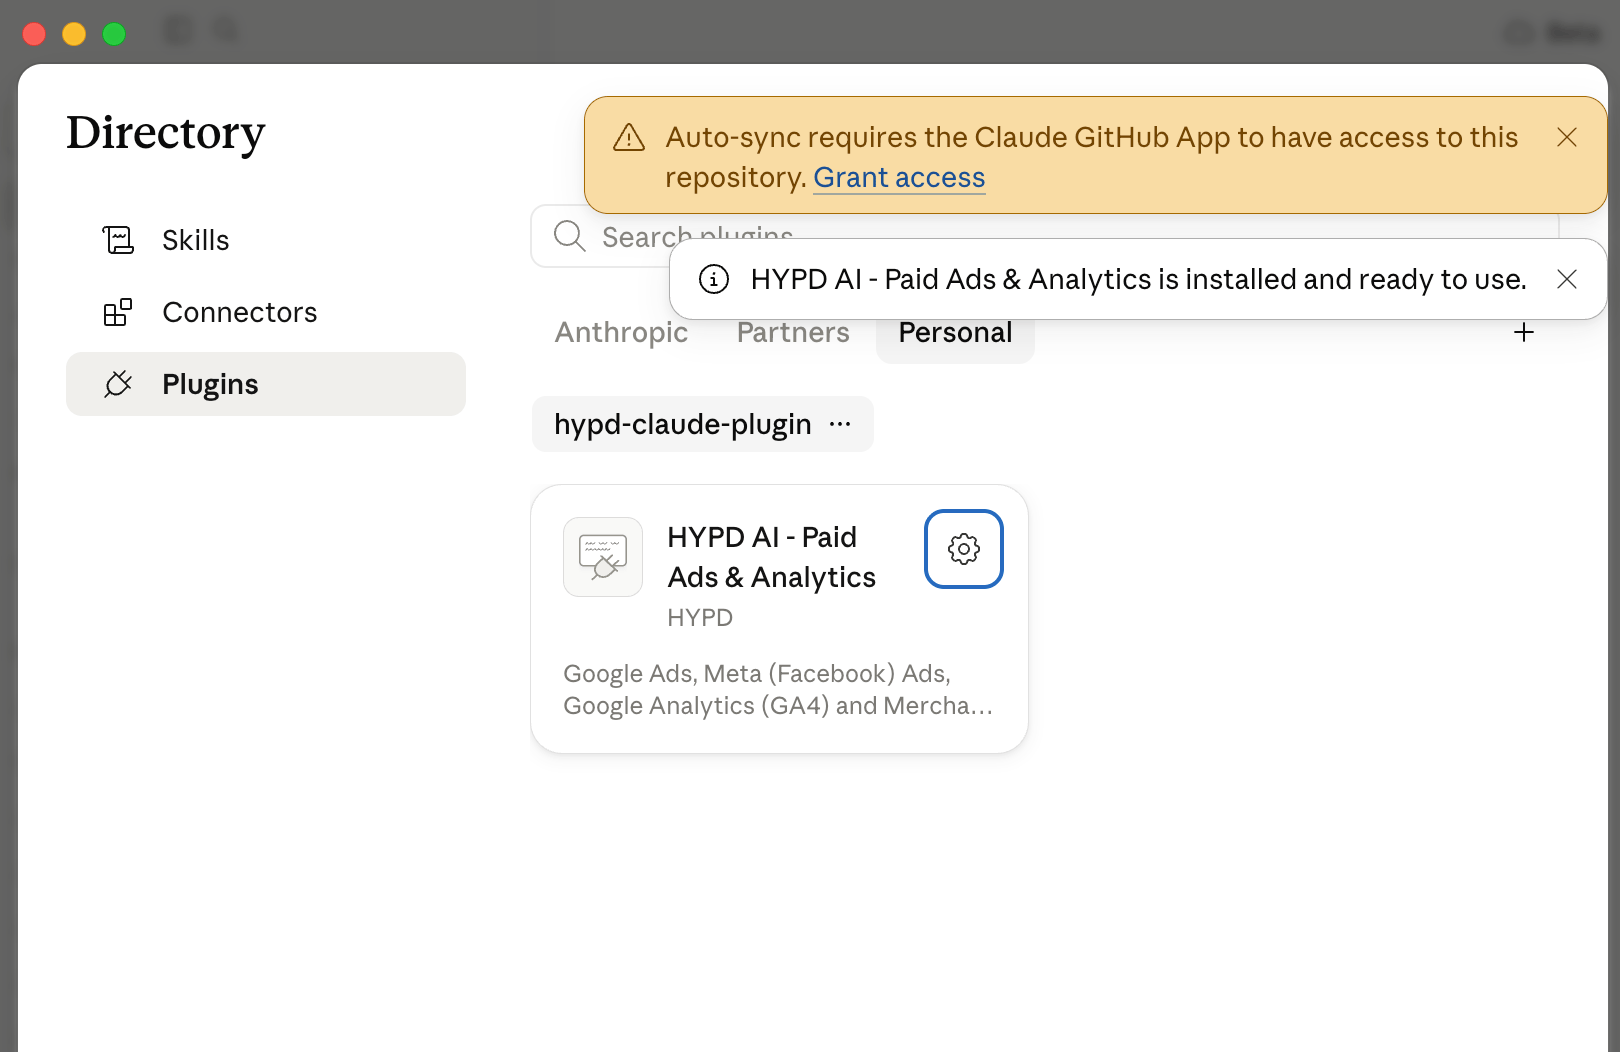
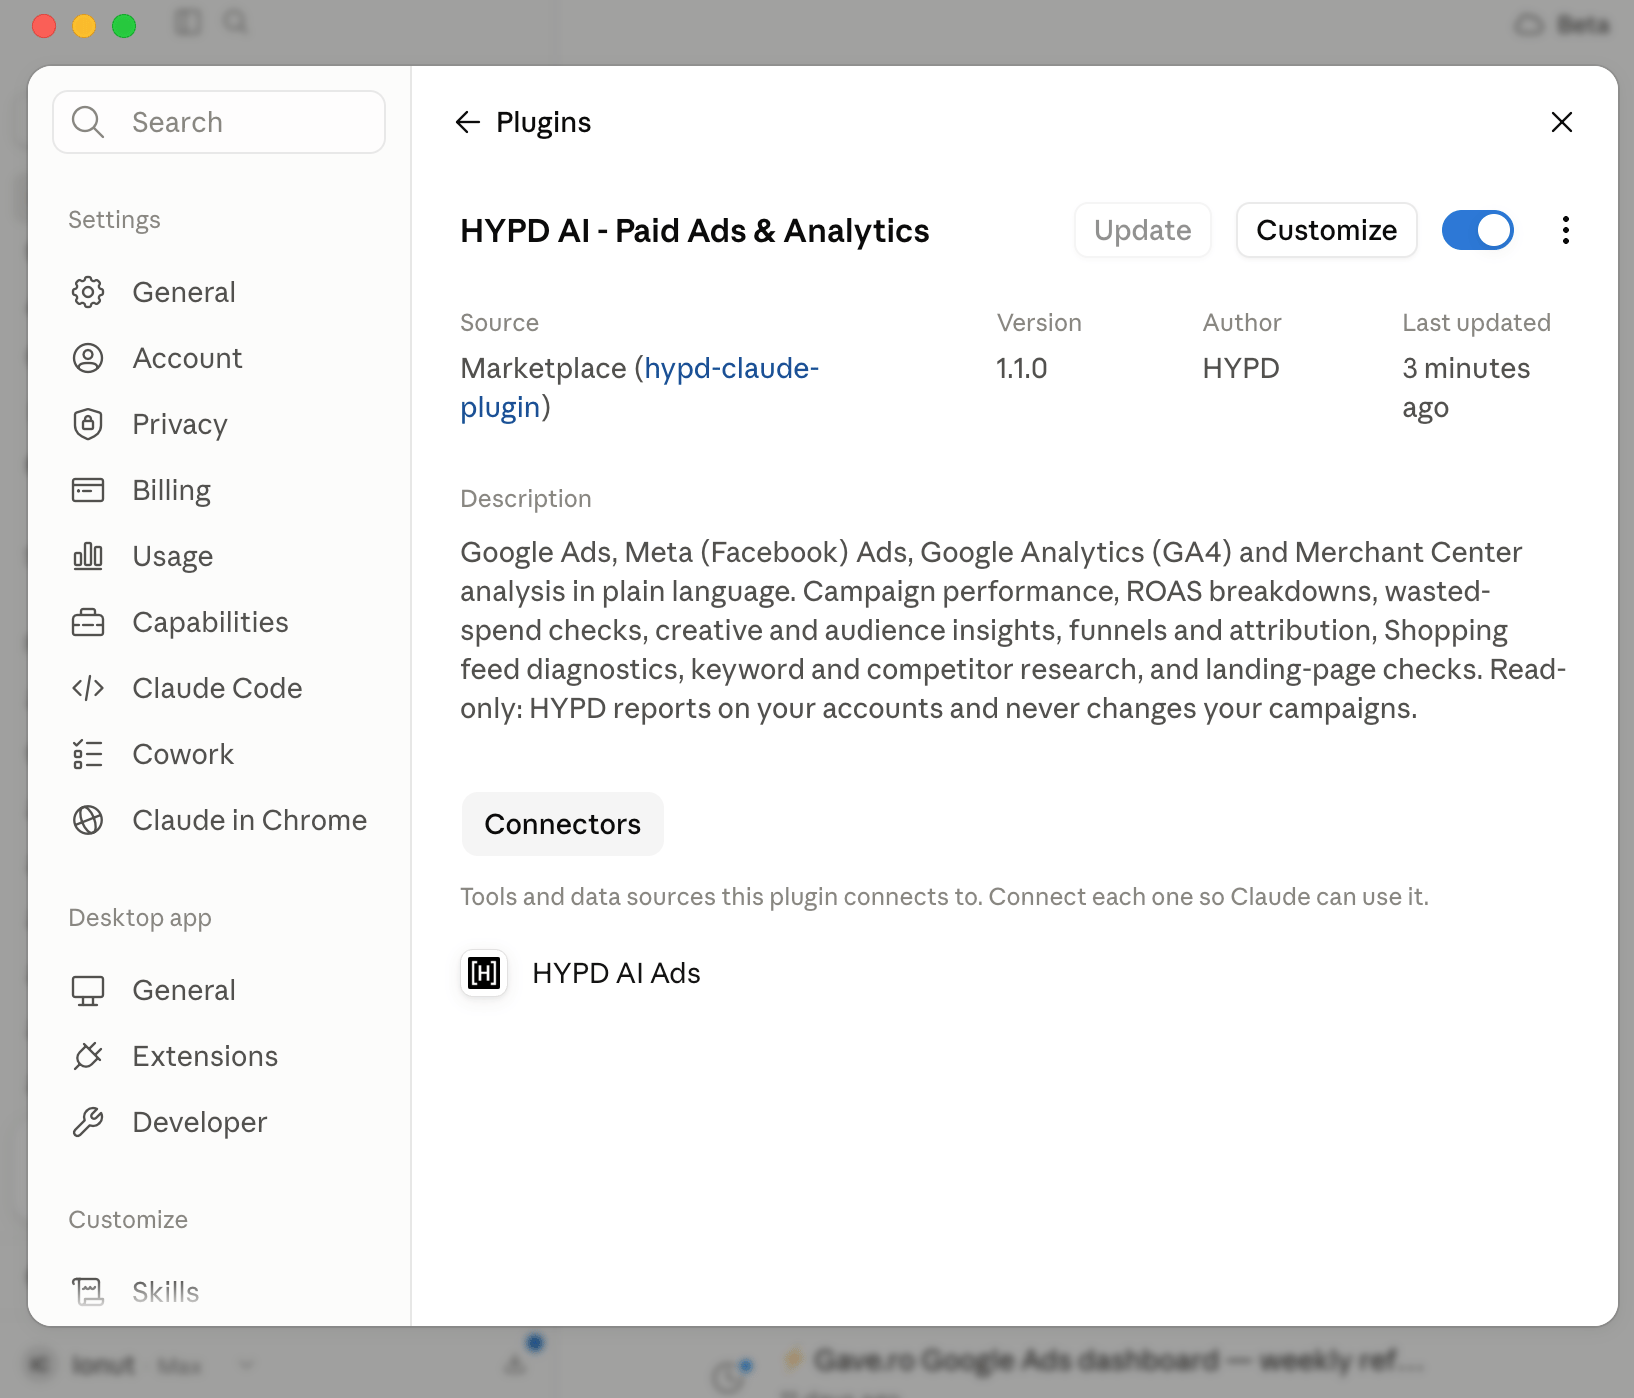
The steps differ by surface — pick yours.- Claude Code (terminal)
- Desktop app & Cowork
- Zip upload
/mcp, select hypd, choose Authenticate, and approve in the browser. The token is stored in your OS keychain and refreshes on its own.A terminal install also covers the desktop app’s Code tab — but not Cowork, which has its own path (next tab).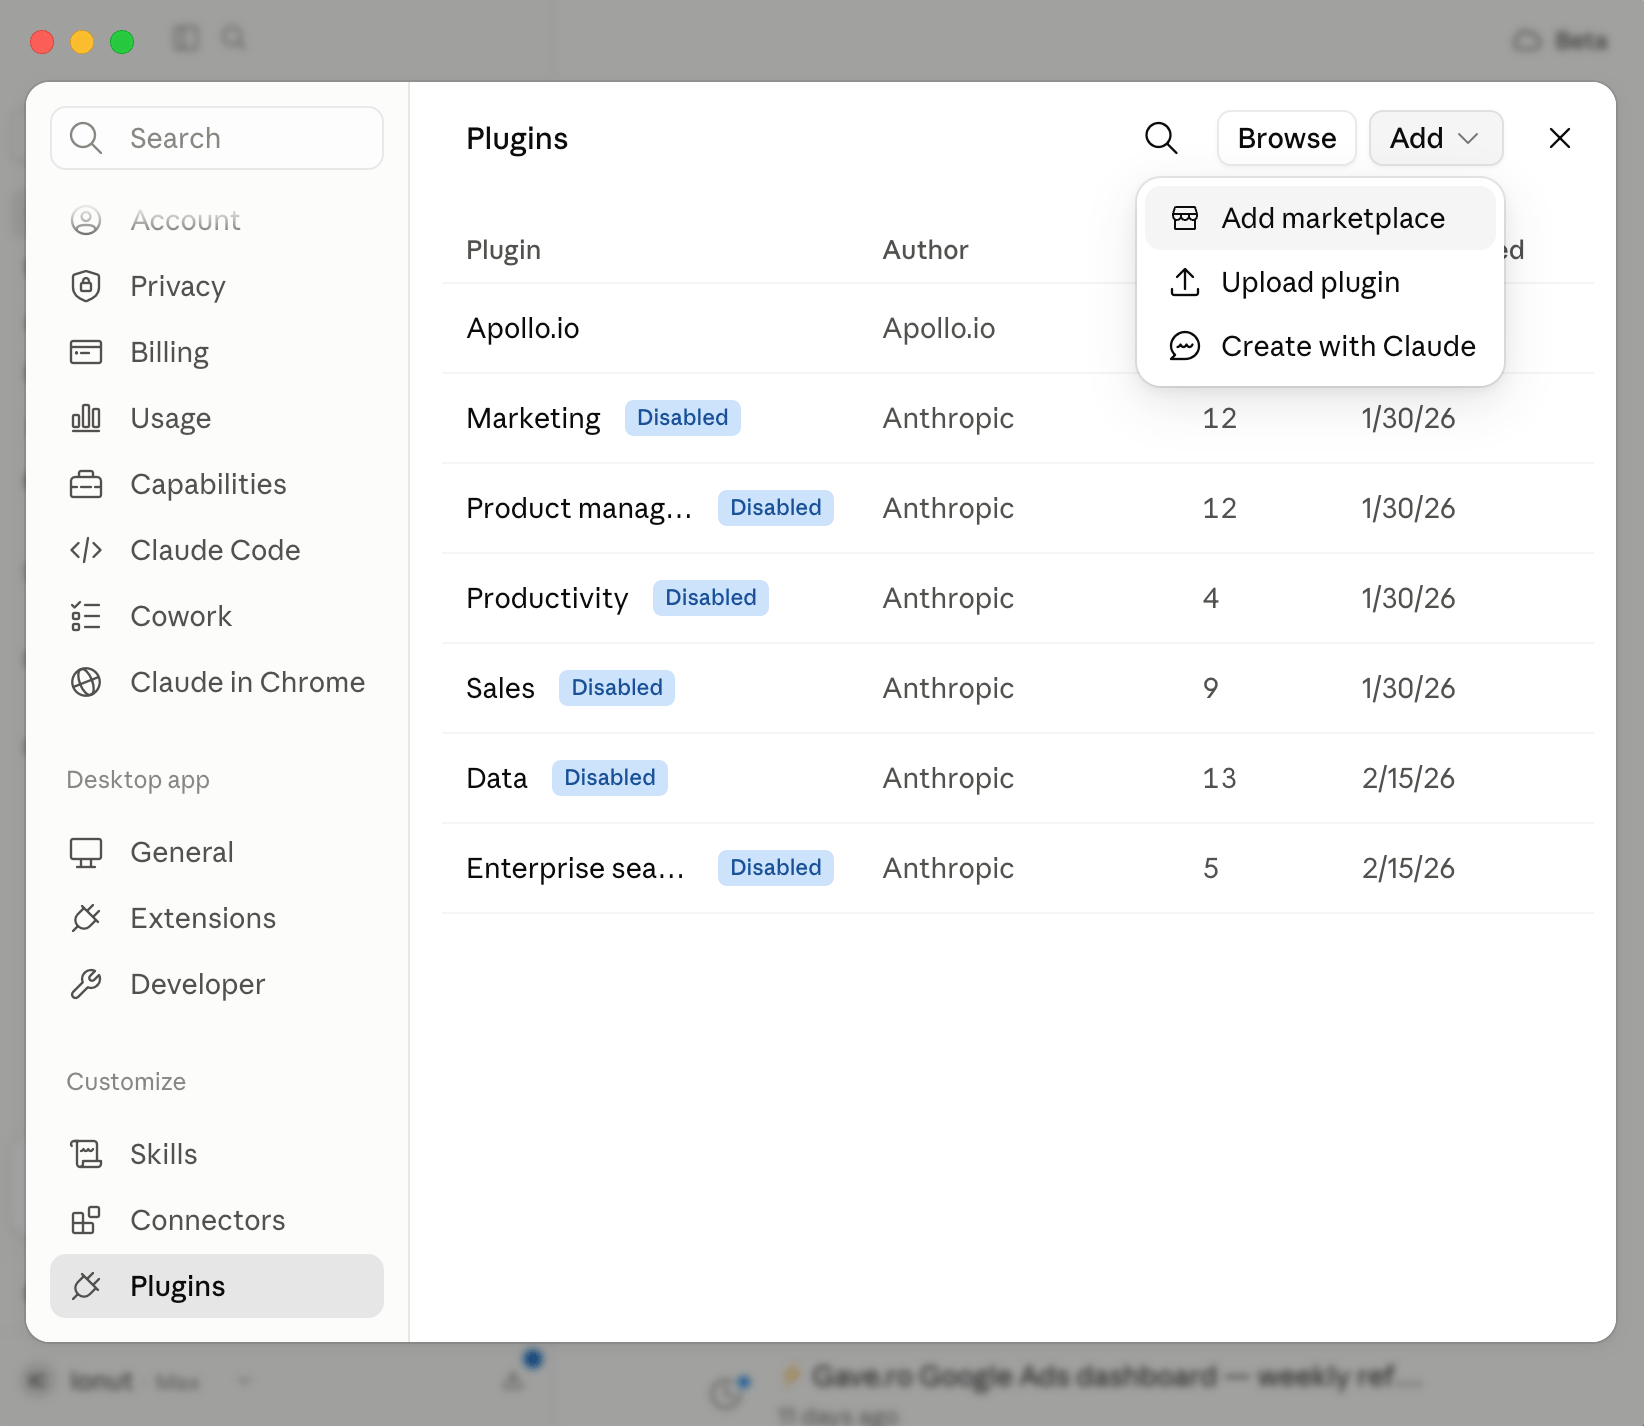
Try it
Ask Claude something that needs your account data:HYPD is read-only. It reports on your accounts and never changes your campaigns, budgets or ads.
Plugin or custom connector?
Both reach the same HYPD MCP server. Pick whichever matches where you work.Troubleshooting
The plugin doesn't appear after installing
The plugin doesn't appear after installing
In the terminal, run
/reload-plugins or restart Claude Code, then check the /plugin Errors tab. In the desktop app, check Settings → Customize → Plugins.Tools aren't available / HYPD says it isn't connected
Tools aren't available / HYPD says it isn't connected
Terminal: run
/mcp and authenticate (or Re-authenticate if the token expired). Desktop/Cowork: open the plugin’s page and connect the HYPD AI Ads connector.Authentication fails with 'stdin isn't a terminal'
Authentication fails with 'stdin isn't a terminal'
claude mcp login needs a real interactive terminal. Use /mcp inside a session instead, or run it from a standard terminal window.No ad accounts show up
No ad accounts show up
Connect a source first: open the Sources page and connect Google Ads, Meta, Google Analytics or Merchant Center.
`/plugin` isn't recognised
`/plugin` isn't recognised
In the terminal, update Claude Code (
npm install -g @anthropic-ai/claude-code@latest) and restart. In the desktop app and Cowork, /plugin doesn’t exist — use Settings → Customize → Plugins.Privacy
The plugin registers no lifecycle hooks and ships no telemetry. The only network destination is HYPD’s own API atmcp.hypd.ai, reached through the MCP connection you authorize. See our Privacy Policy and Security & Privacy page.